Laying our first limecrete floor
It’s time to get get on with work in the adega area to get our main bathroom installed. First though we’ll need something to walk on! This is the story of laying our first limecrete floor.
From rubble to a bathroom floor
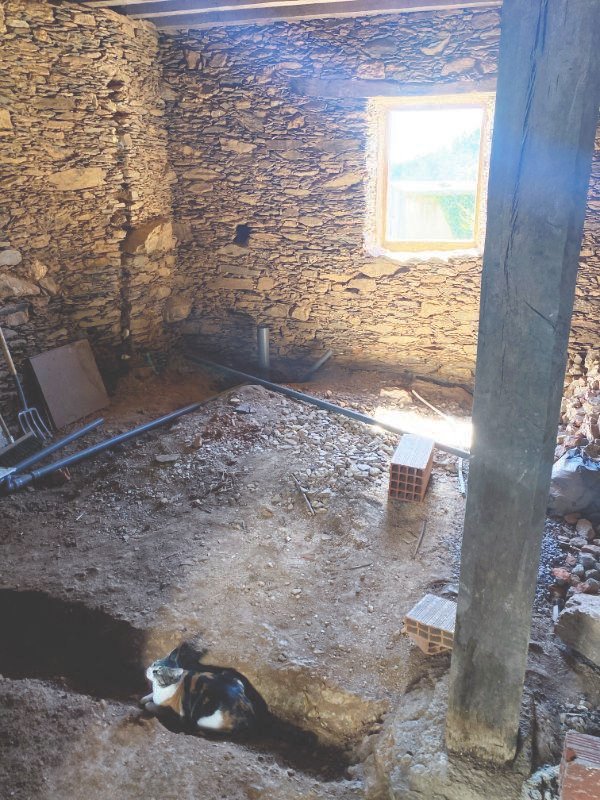
We lost count of the number of times we have moved rock and rubble from one part of the adega to another. But we continue to sort the materials we find into various project piles, still focused on trying to reuse everything on site where possible. It’s a big part of the renovation, so it’s just something we have to accept. It’s physically demanding but rewarding as you see your work progressing. We’re now ready to clear and prepare a section of the adega that will become our new and first bathroom (casa de banho in Portuguese). There are a few things that need considering here; water supply, waste water outlets, WC and bidet fitting (a bidet is a building code requirement in Portugal when installing a new WC). We also need a bathroom window ordering and a smaller shower room window making (complete with orange tree glass design perhaps). Walls need building, electricity circuits routing, hemp lime plastering, wood treating, floor levelling and tiling. Oh, and not forgetting limecrete flooring. Maybe a bit of sleeping in between too!
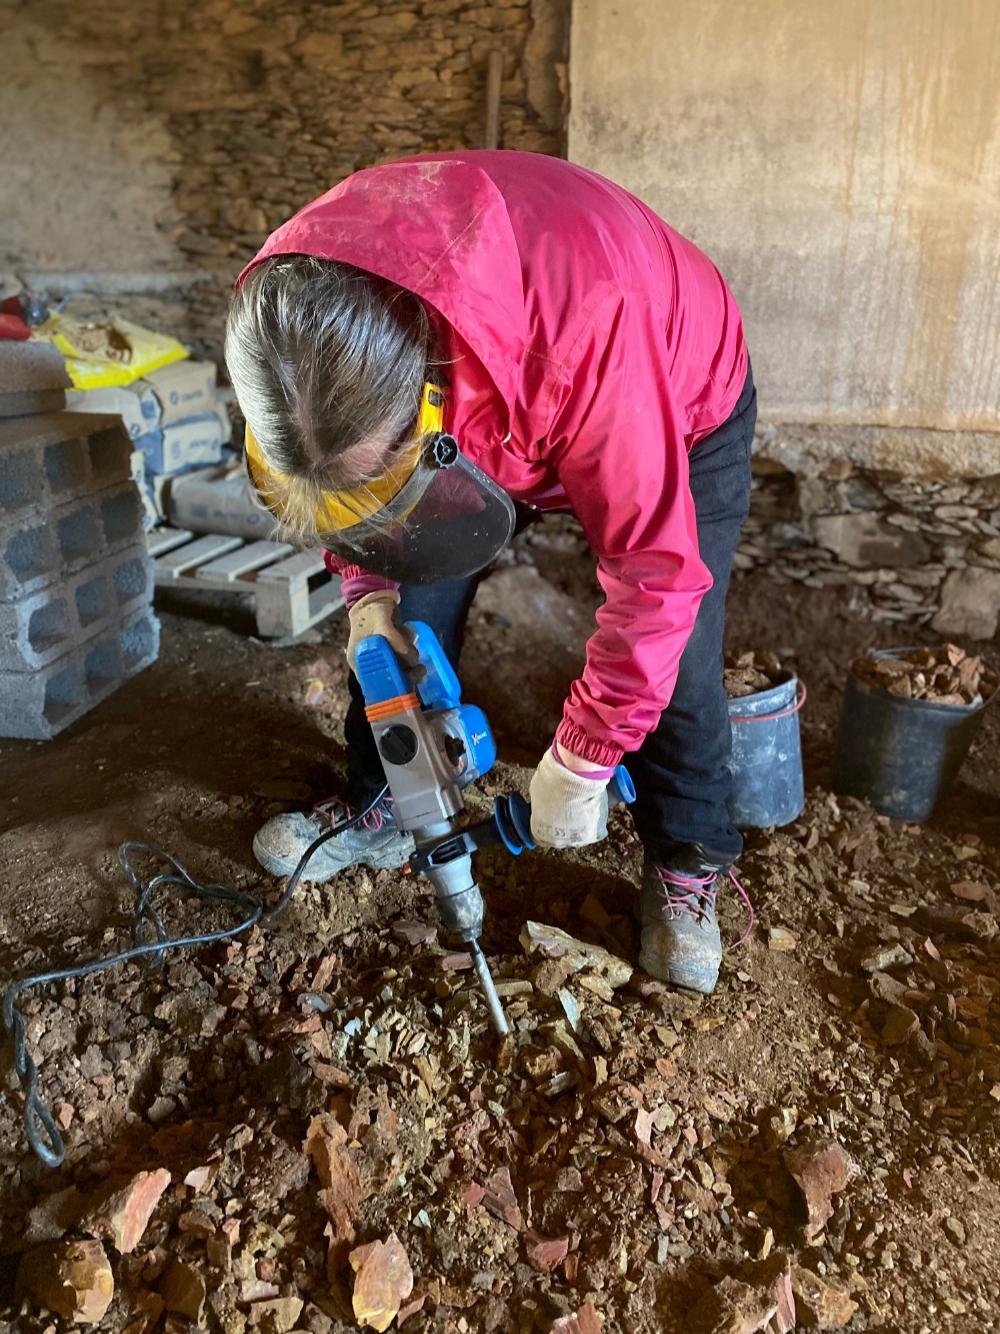
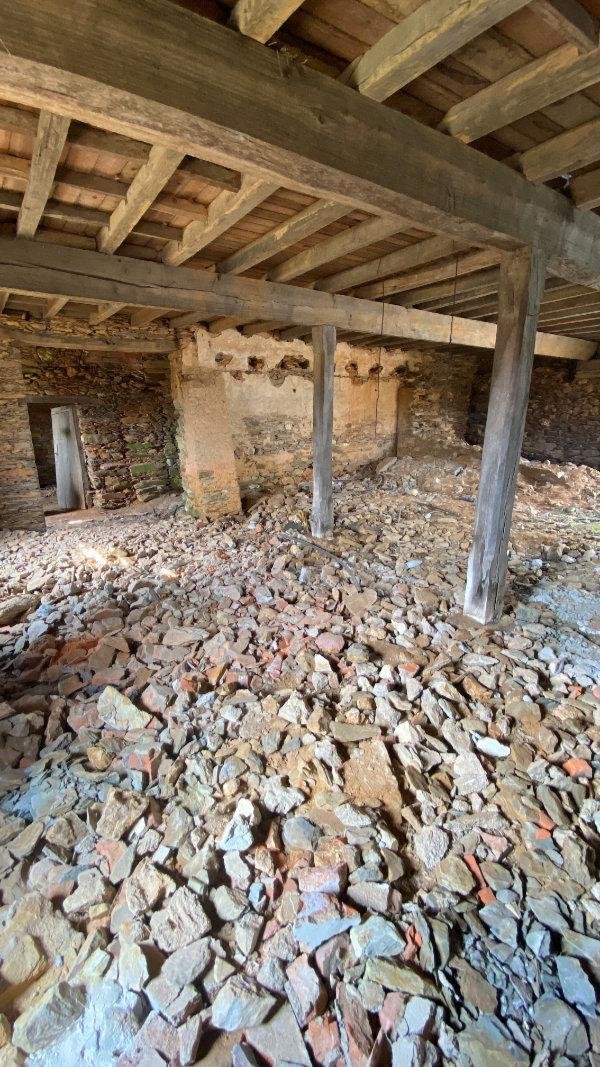
Clearing the way
The adega currently runs on a downhill slope, from the front of the house to the back. It drops almost half a meter over its 8 metre length. Not ideal for a slippery bathroom floor!
So the first job is to get levelling and remove any excess stone, old concrete and earth. Secondly, we’ll prepare water and waste pipe channels and then, when everything is in place, lay the first limecrete floor in Casa Grande. Sounds easy, yes?
We have large rocks forming the old floor, all sitting between looser, smaller stones and gravel, and covered in clay and soil. Occasionally an animal bone will also present itself!
Moving the earth
One of our other ongoing projects is what we refer to as ‘the terrace’. An area of relaxation for reading, gathering inspiration and sun worshipping!
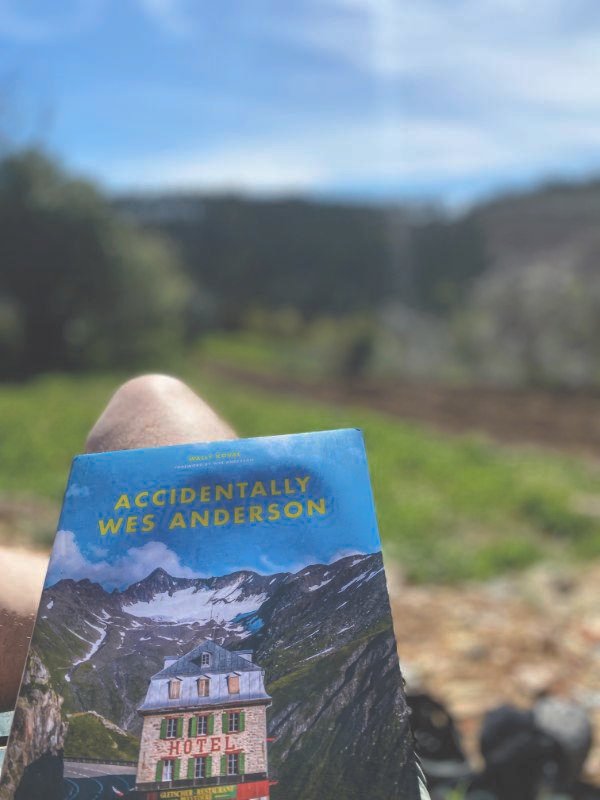
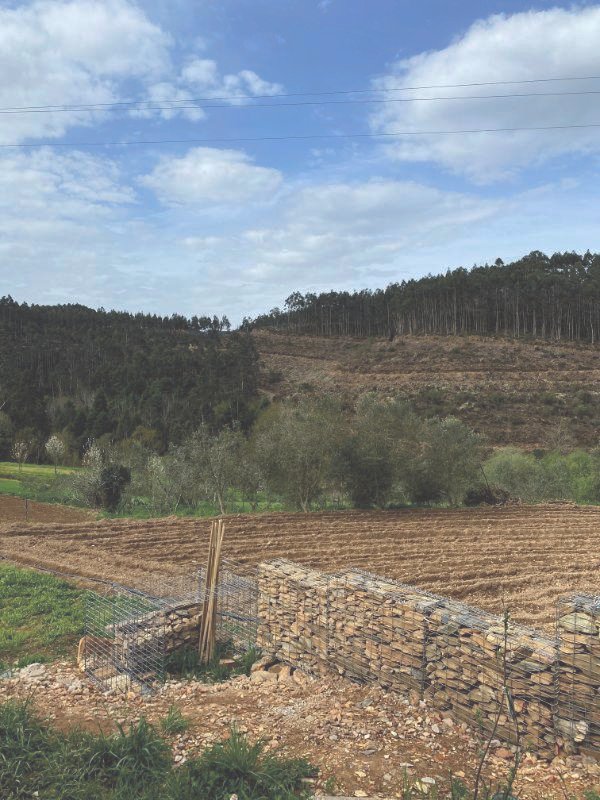
The terrace is being raised from the earth and rubble we are extracting from the adega. Unfortunately, it’s on the other side of the house, so we have to shift it bucket by bucket. And there’s plenty of it! When completed and with the gabion wall retainers full and in place, the terrace will be a peaceful, go-to spot at the end of a busy day. Perfect with a glass of vinho tinto and a cat on your lap. Anyway, enough of the romantic dreaming for the moment; on with that bathroom floor.
Piece of pipe
After we’ve cleared the rubble and marked out the bathroom area, it was time to lay water pipes for the shower, WC, bidet and vanity sink. The pipework will run under the limecrete floor. To protect the pipework, they get encased in corrugated tubing – blue for cold and red for hot. Plumbers in Portugal will use green tubing for the cold supply, but we had trouble finding any when we came to do this part of the job. We opted for blue instead. It seemed like the right thing to do!
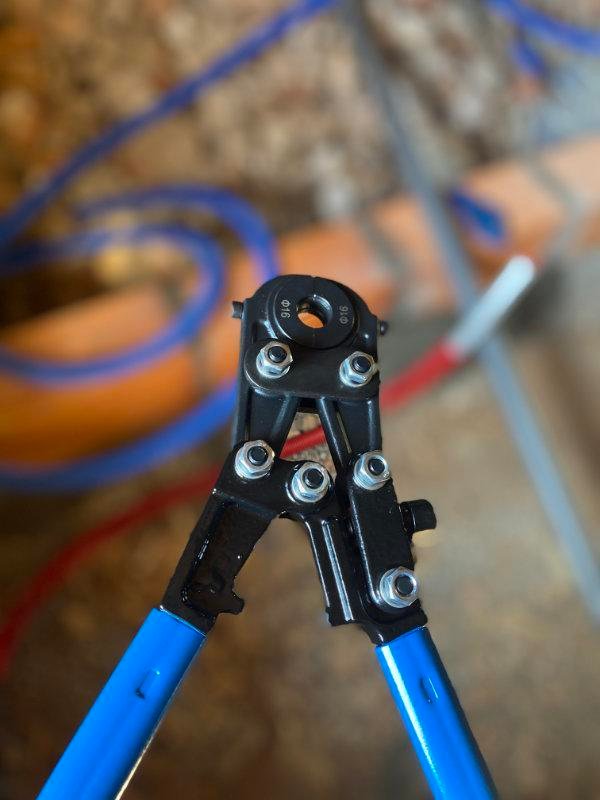
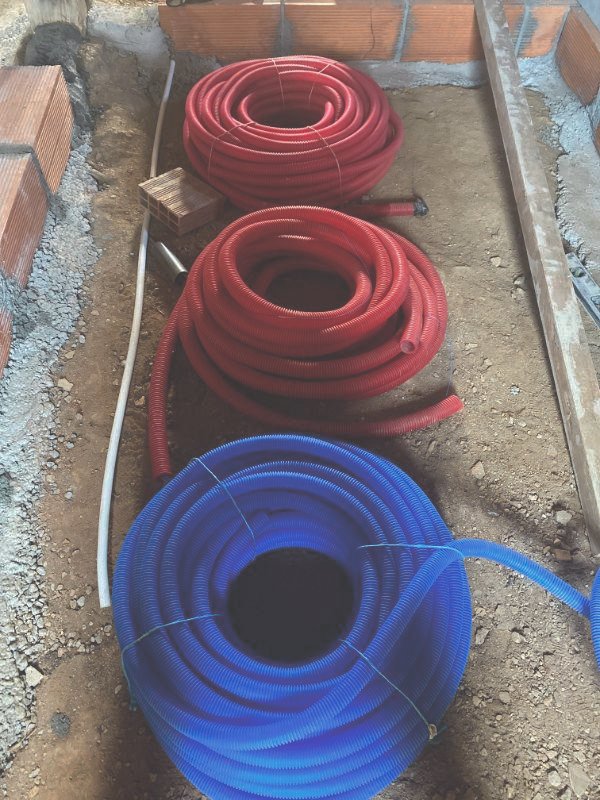
In Portugal, plumbing fittings are different to what we use in the UK, so we had to weigh up the options; crimped fittings or heavier-duty compression joints. Both are considerably more expensive than the UK’s PVC push fittings we are used to. As we have plenty of plumbing to do here, now and in the future, we opted for the crimping method of jointing. It’s faster to work with. We did need to buy the crimping tools, but the pipe joints were slightly cheaper than the compression joints equivalent. And with the art of crimping mastered, this method became very efficient for our needs.
Waste Water Pipes
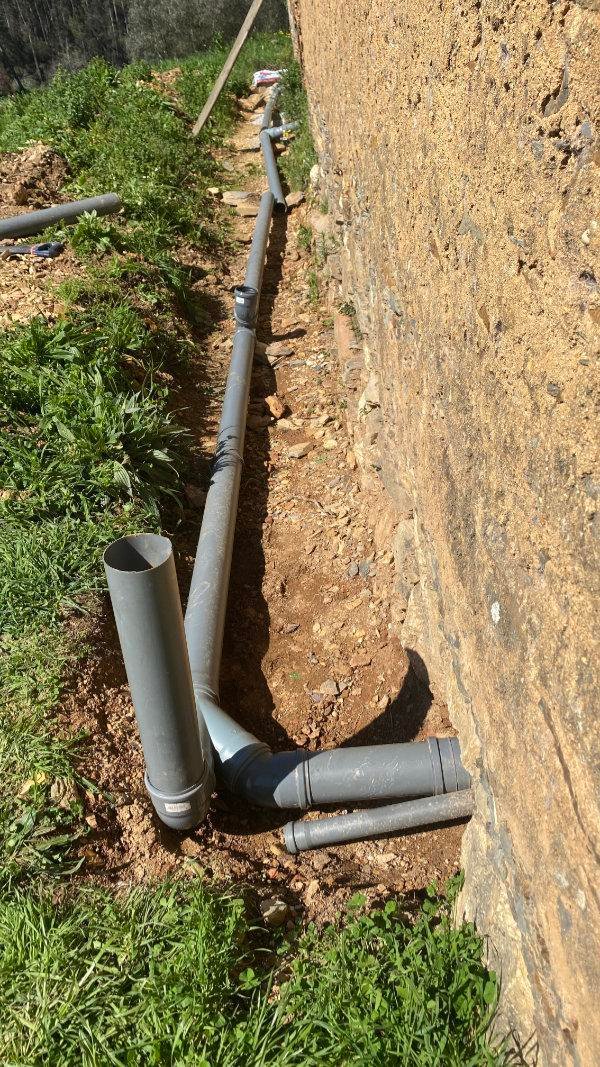
We have also been working on waste pipe installation over the past few weeks. When we installed the fossa last summer, we extracted the earth along the entire length of the house to the rear. This channel now sites our waste pipes, connecting to the new fossa.
Running the pipes from the outside to the inside of the building wasn’t a simple task. The house walls are over three feet thick and made of heavy limestone and solid granite. We also have three other wastewater outlets to consider for a separate WC, an attic bathroom and WC (a future project) and a bathroom and WC for Spare ‘oom (our future guest apartment), so all of the pipework for these projects needed installing at the same time.
It was a hard-fought task but now, with all the water pipes and waste system in and tested, we can return to the main project of laying our first limecrete floor.
Limecrete flooring
It’s really important, in our opinion, to ensure that the fabric of these old houses is allowed to breathe. Our research told us that filling spaces and rendering stonework with modern building materials like concrete, sand and cement will smother the essence of how historic buildings work and live, leading to future issues such as trapped moisture, mould and dampness. It’s something we want to avoid. From a renovation cost point of view, there is no significant difference between using more traditional materials like limecrete and slaked lime plaster. There is a bit more work involved and more caution required with lime products, but the benefits outweigh the alternatives.
Of course, there is a lot of debate on this subject, with many trades persons here in Portugal opting for quicker, more modern methods. We don’t need to rush this aspect of our renovation or make for future problems and so will be spending a considerable amount of time and effort on making sure we do not destroy and smother the fabric of this building. That doesn’t mean we won’t be using more modern materials and methods on some of our projects (like our new circular stairs, for example); we just won’t be laying floors or plastering walls with concrete.

Laying the limecrete floor
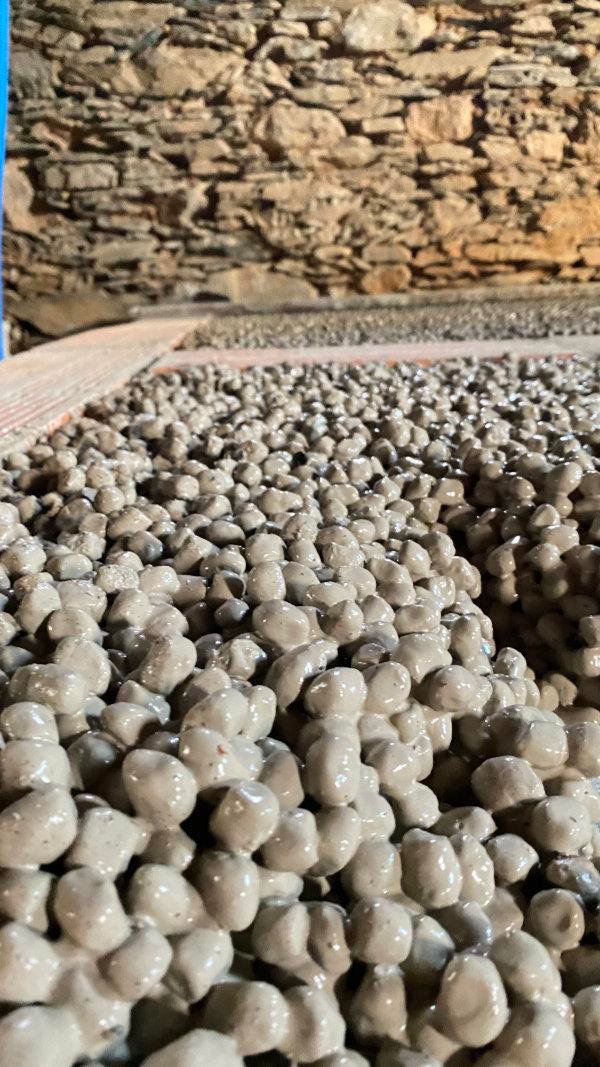
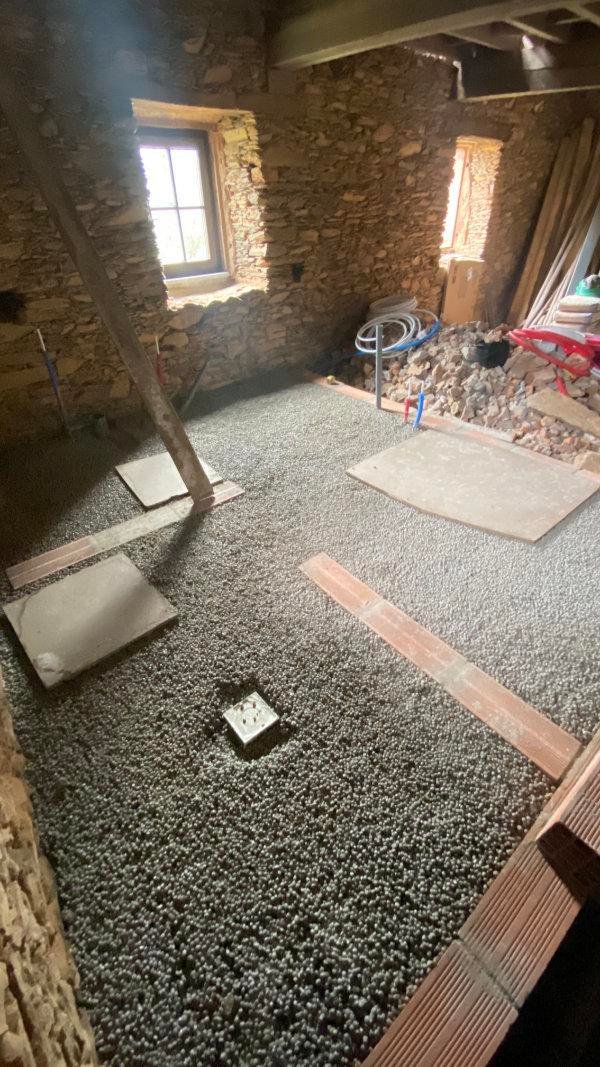
The finished floor consists of two layers containing various-sized clay ball aggregate.
We have used the ARGEX brand expanded clay. It is a natural, ecological, long-lasting, non-flammable and inert product. It does not decompose or rot, is light and capable of storing a certain amount of humidity, which is slowly released.
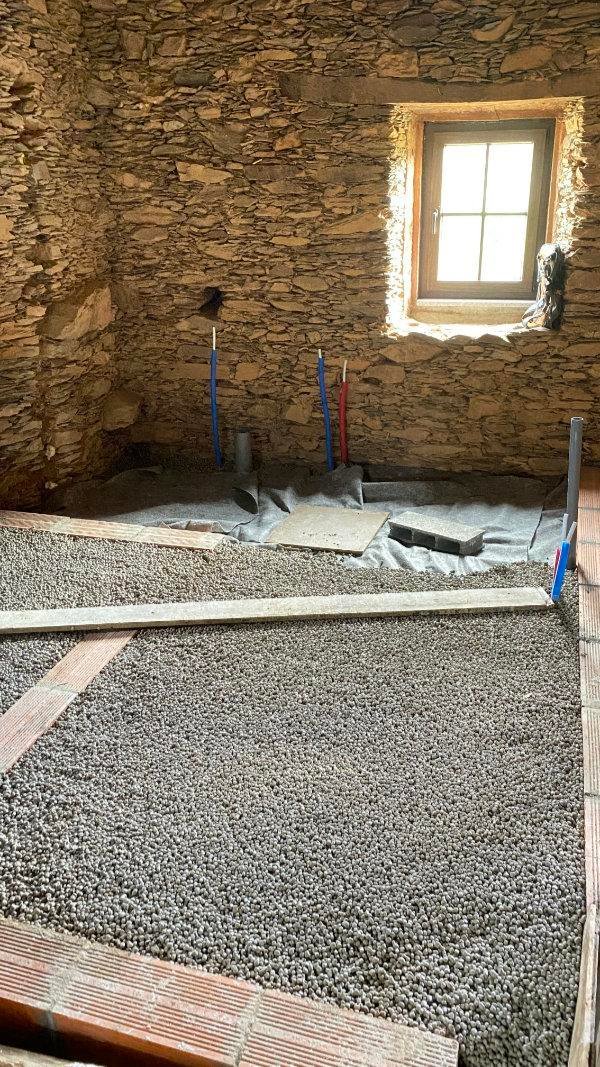
The aggregate comes in two sizes. The first level is 8 – 16mm clay balls enclosed in a geotextile wrap, permitting moisture under the floor to be released. Nothing is trapped; no damp odours. This first layer is poured loose. Limecrete cement can be used at this level but isn’t necessary.
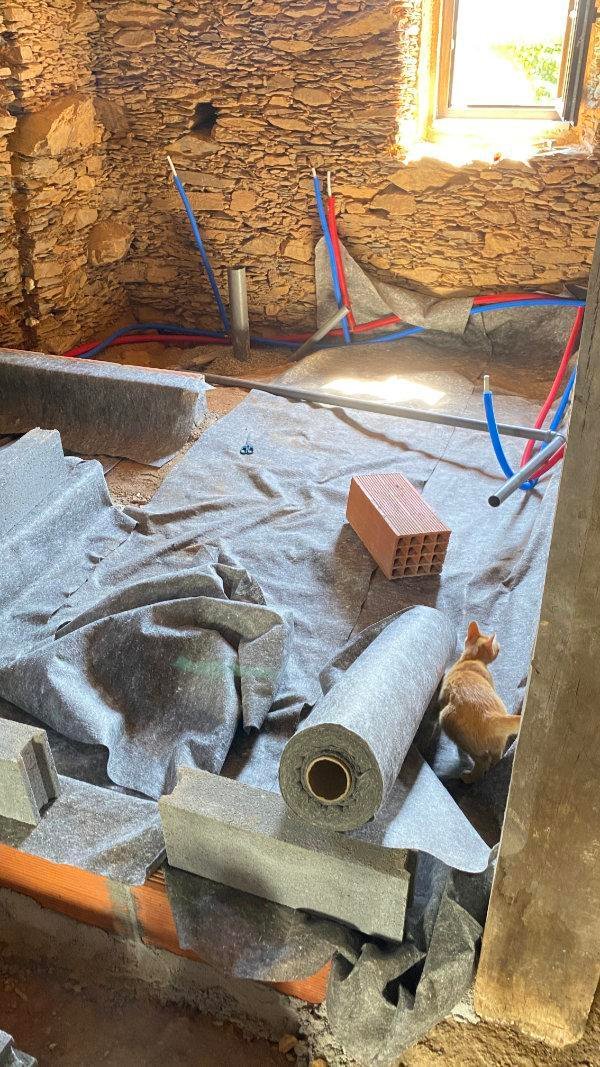
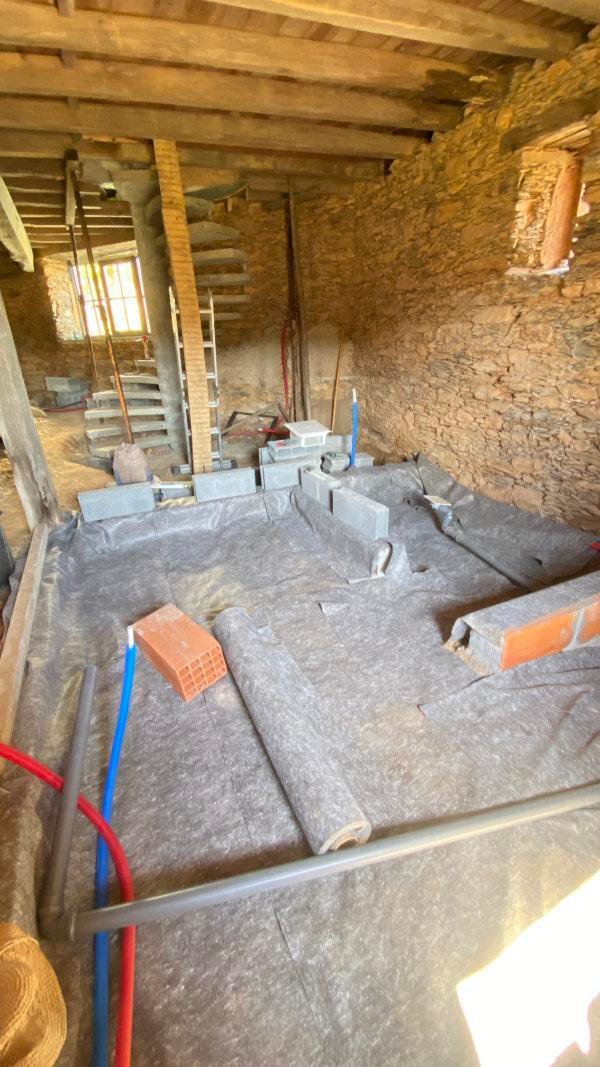
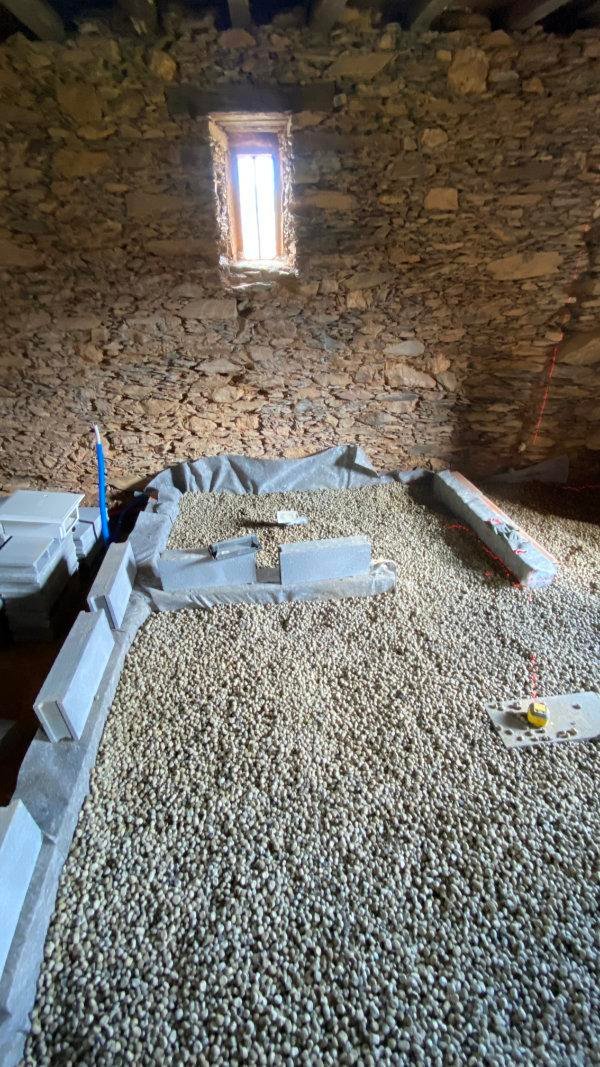
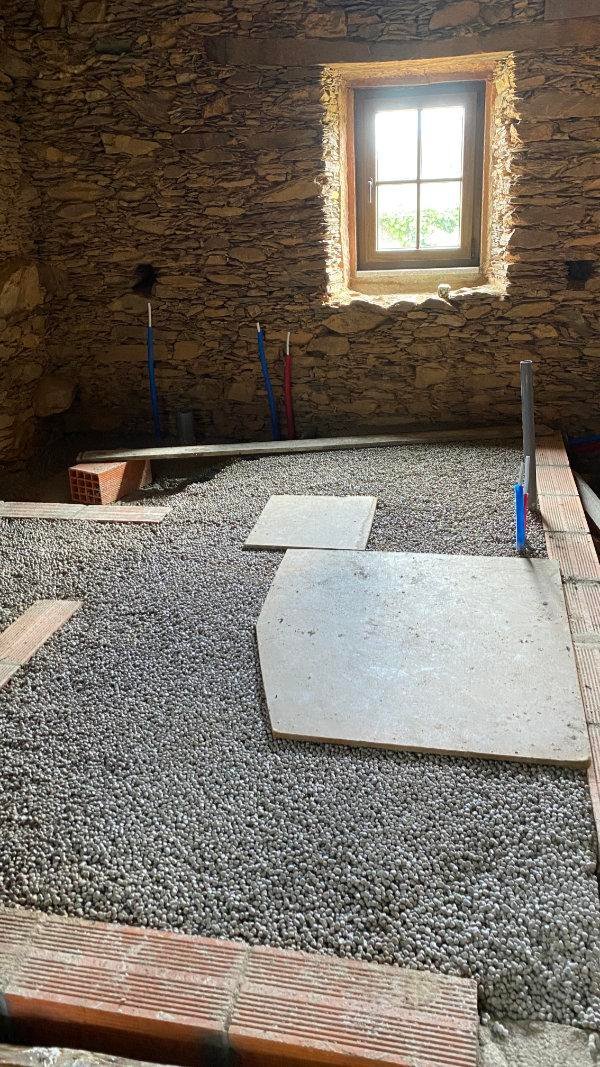
Once the first level is laid and wrapped in the geotextile, we can mix and pour the second level. We now use a smaller clay aggregate size (3 – 8mm), slowly adding HL5 lime cement and water into the mix. We use the same method as laying a concrete slab, only the limecrete aggregate is slightly drier, stickier and firmer to work with. Concrete will find its own level to some degree because of its weight, whereas this limecrete floor needs to be ‘worked’ more under a float because its lighter. Enter Julie, queen of the float!
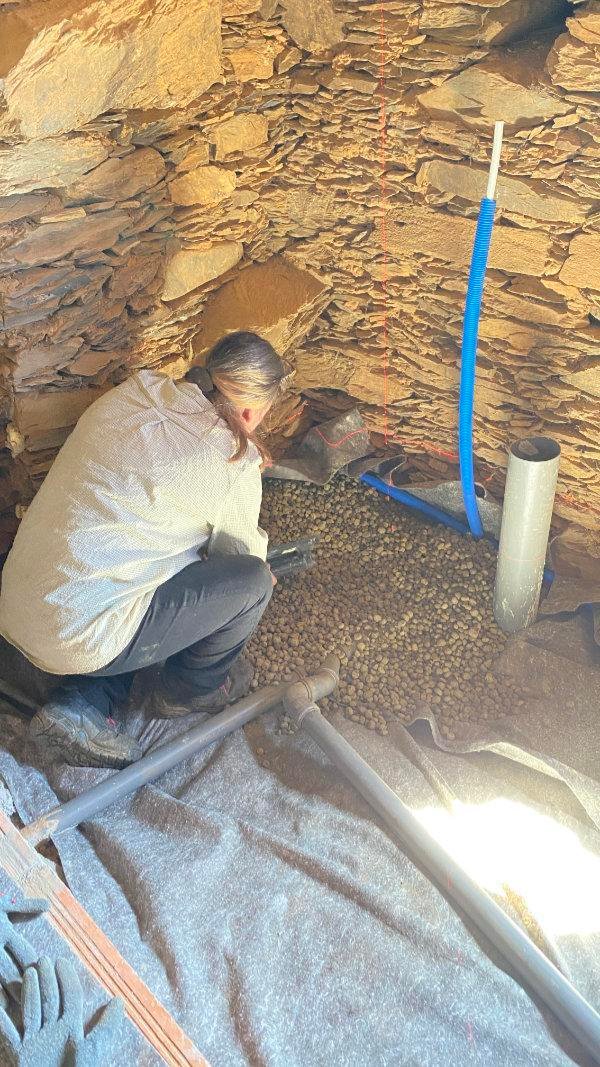
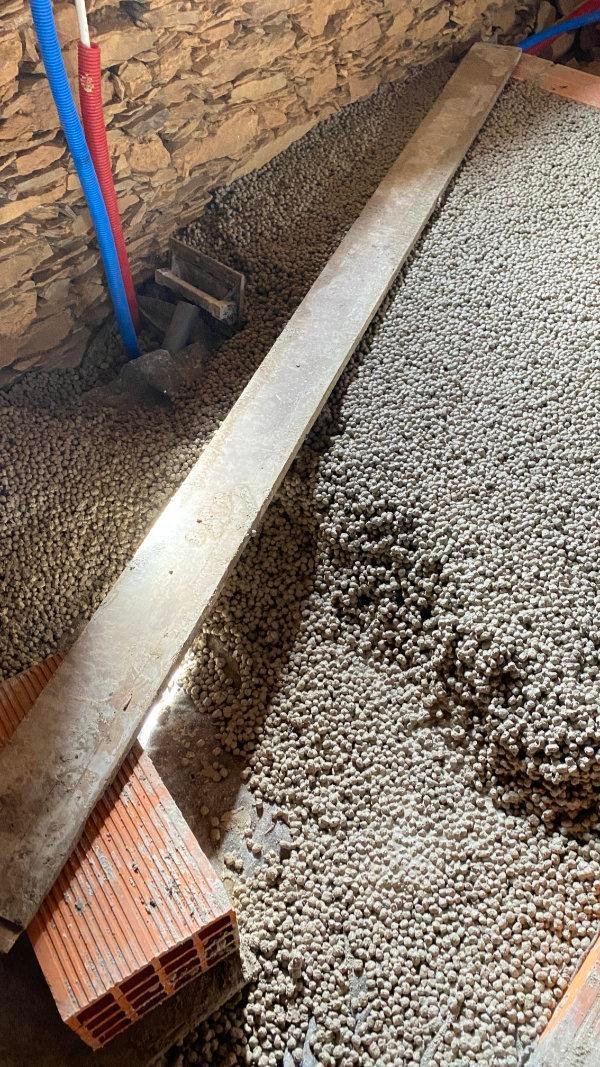
Our first limecrete floor is in
And that’s it! Our first floor and new bathroom window (which we installed along the way).
The limecrete will take a little longer to set than concrete and while we could walk on the floor the next day, it did feel a little soft underfoot. The day after that it was considerably harder, so we’ll probably give it a week to 10 days before walking on it more and then continue with laying the floor tiles that we recently purchased.
In the mean time, we’ll build the walls and start thinking about the excitement of installing the shower and loo! We’ll keep you updated as we progress.
OK, let's hear it!
We have so much to learn, discover and enjoy here in beautiful Portugal.
Please share your comments and recommendations with us and be a part of our big house renovation journey.
2 Comments
Submit a Comment
You must be logged in to post a comment.
I can offer nothing in the way of advice. As you know what my diy skills are like!! I put up a shelf once!! The work you are doing is extraordinary and I love the fact that you’re doing all this research before the work. It will pay dividends. Congratulations on everything you’ve achieved so far. Fascinating stuff and I’m very much looking forward to the next instalment.
Thank you Marc. You make an excellent lintel prop though! Can’t wait for your visit velho amigos.